The Artscape Journal
Stories, tips, and inspiration from the studio.
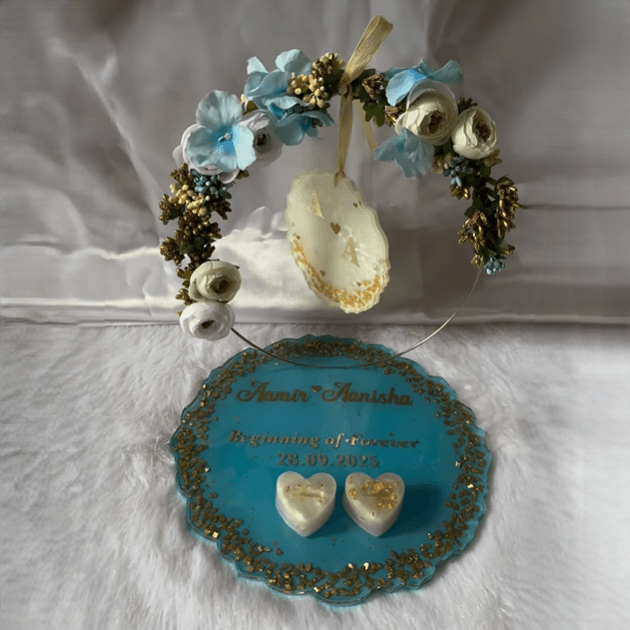
Crafting a Dream: The Story of a Custom Resin Engagement Ring Platter
The Client\'s Vision This project began with a wonderful request from a client for her engagement day. She had a clear...
Read Article
Capturing the Butterfly: A Pencil Sketch of Demon Slayer\'s Shinobu Kocho
Why Shinobu? Shinobu is such a compelling character to draw. She’s not your typical warrior. There\'s a graceful, al...
Read Article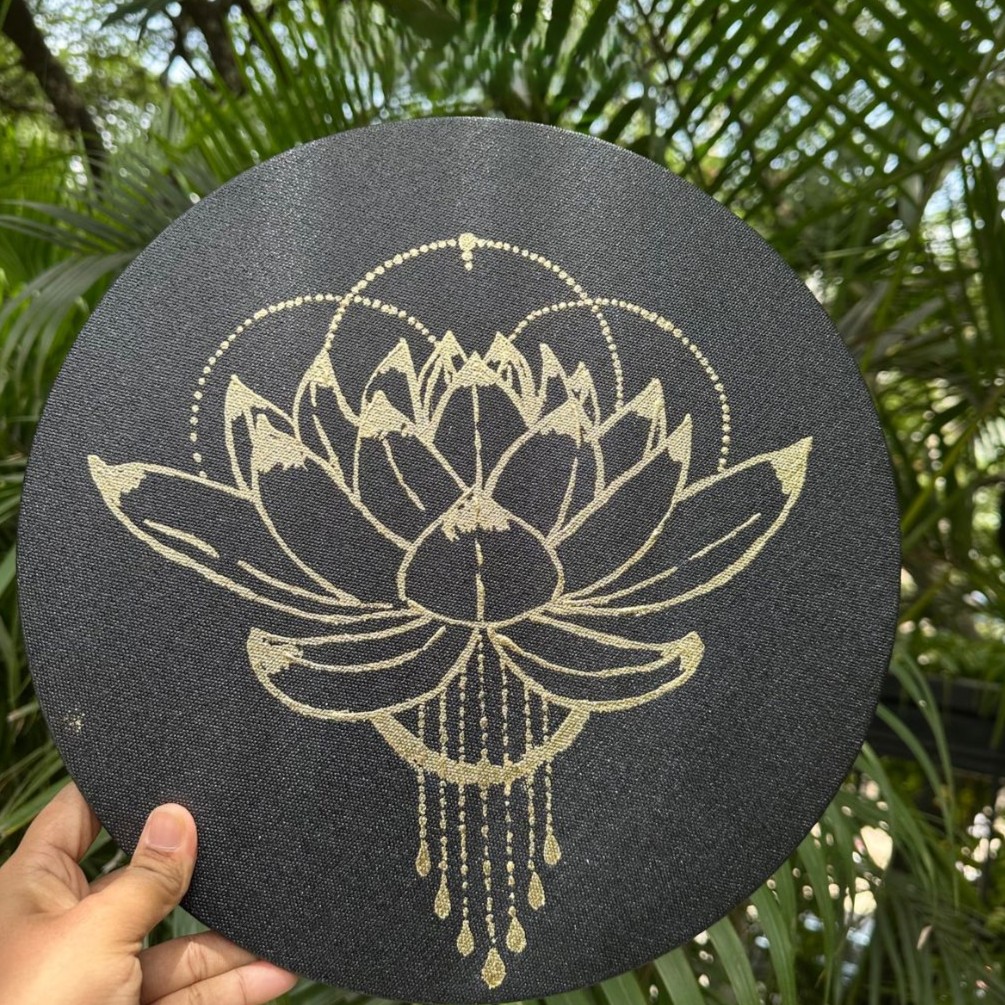
Gold Foil Art Workshop - A Hands On Creative Escape
Where It All Happened The workshop was held at Social, Indiranagar a cozy, vibrant space filled with natural light, gre...
Read Article
Finding Inspiration in Everyday Travel: An Artist\'s Journal
What You\'ll Need You don’t need fancy tools to feel inspired just an open mind and a few essentials: ...
Read Article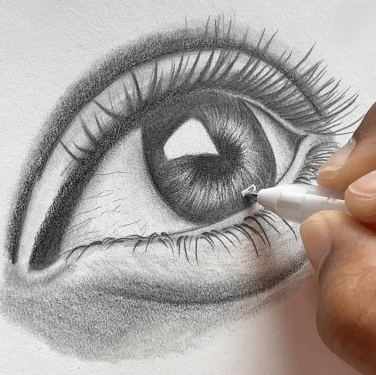
Mastering Faces: A Beginner\'s Guide to Pencil Portraiture Techniques
Gathering Your Essential Tools Before you draw your first line, having the right tools makes a significant difference....
Read Article
Getting Started with Resin Art: A Beginner Guide
What You\'ll Need Before diving into resin art, it\'s essential to gather the right materials. Here\'s...
Read Article